Creating tables
Step 1
Use Cells to prepare Content for your new Table. In this case use:
Cell / DefaultCell / TrendCell / BadgeCell / StatusCell / Actions
When you finished create new component with those Cells and name it:
Instance / {NewTitleTable} / Content / Row
Step 2
Use Cell / Header Cell and create Content for Header Row in the same way as described at
step 1.
When you finished create new component with those Header Cells and name it:
Instance / {NewTitleTable} / Content / Header Row
Step 3
Make sure that each row inside Content / Header Row and Content / Row has the same width.
Step 4
Time to build a table using rows. Add Row / Header Row as a header of the table and then insert
Row / Default as many as you need.
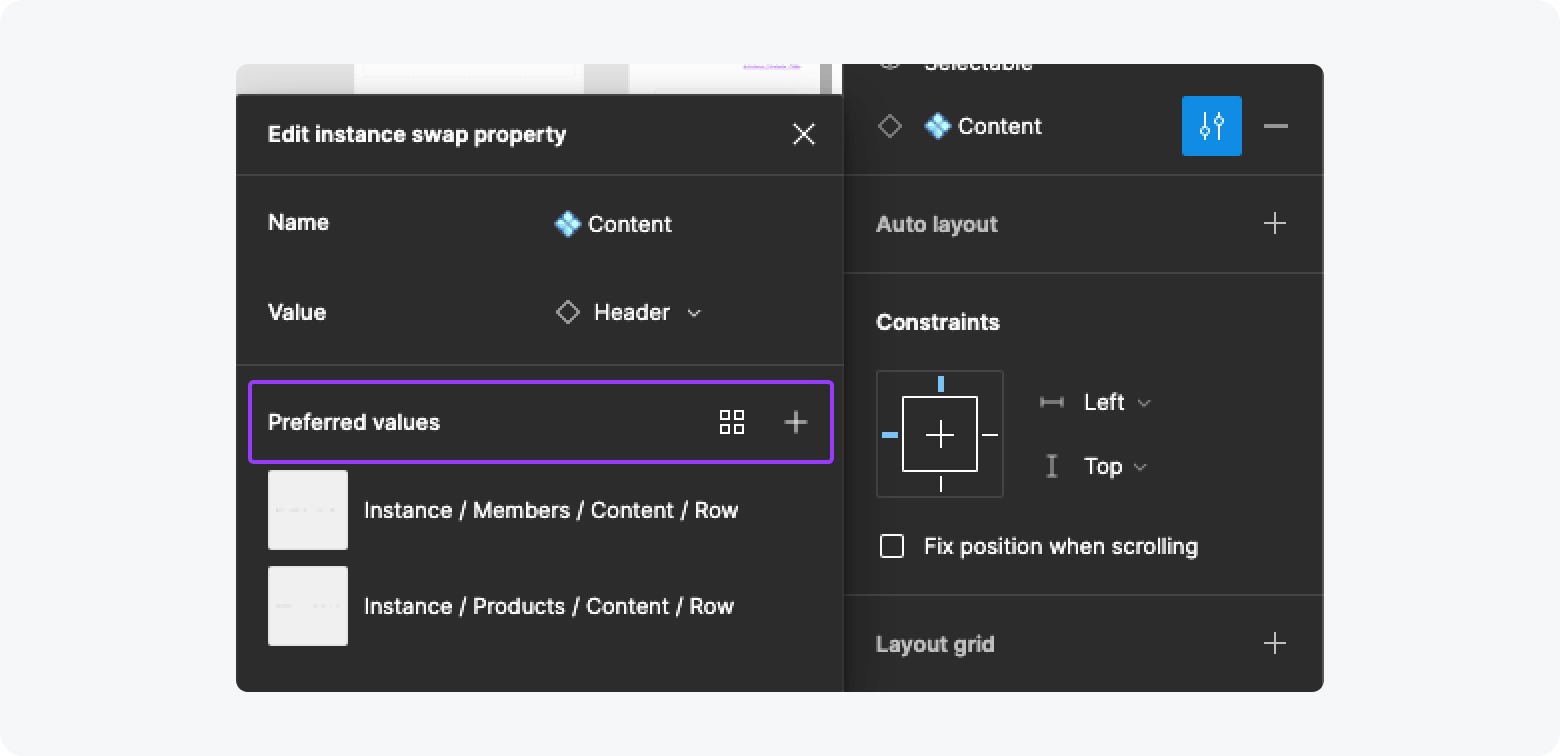
Now you have to swap your earlier created Content both for Header Row and Default Row. In this case, select the new Instance here:
The clever tip is here. Add your new content to Preferred values. Now you will see only proper content. Learn more here

Step 5
Create new component with your new Table and name it:
Instance / {NewTitleTable} / Table